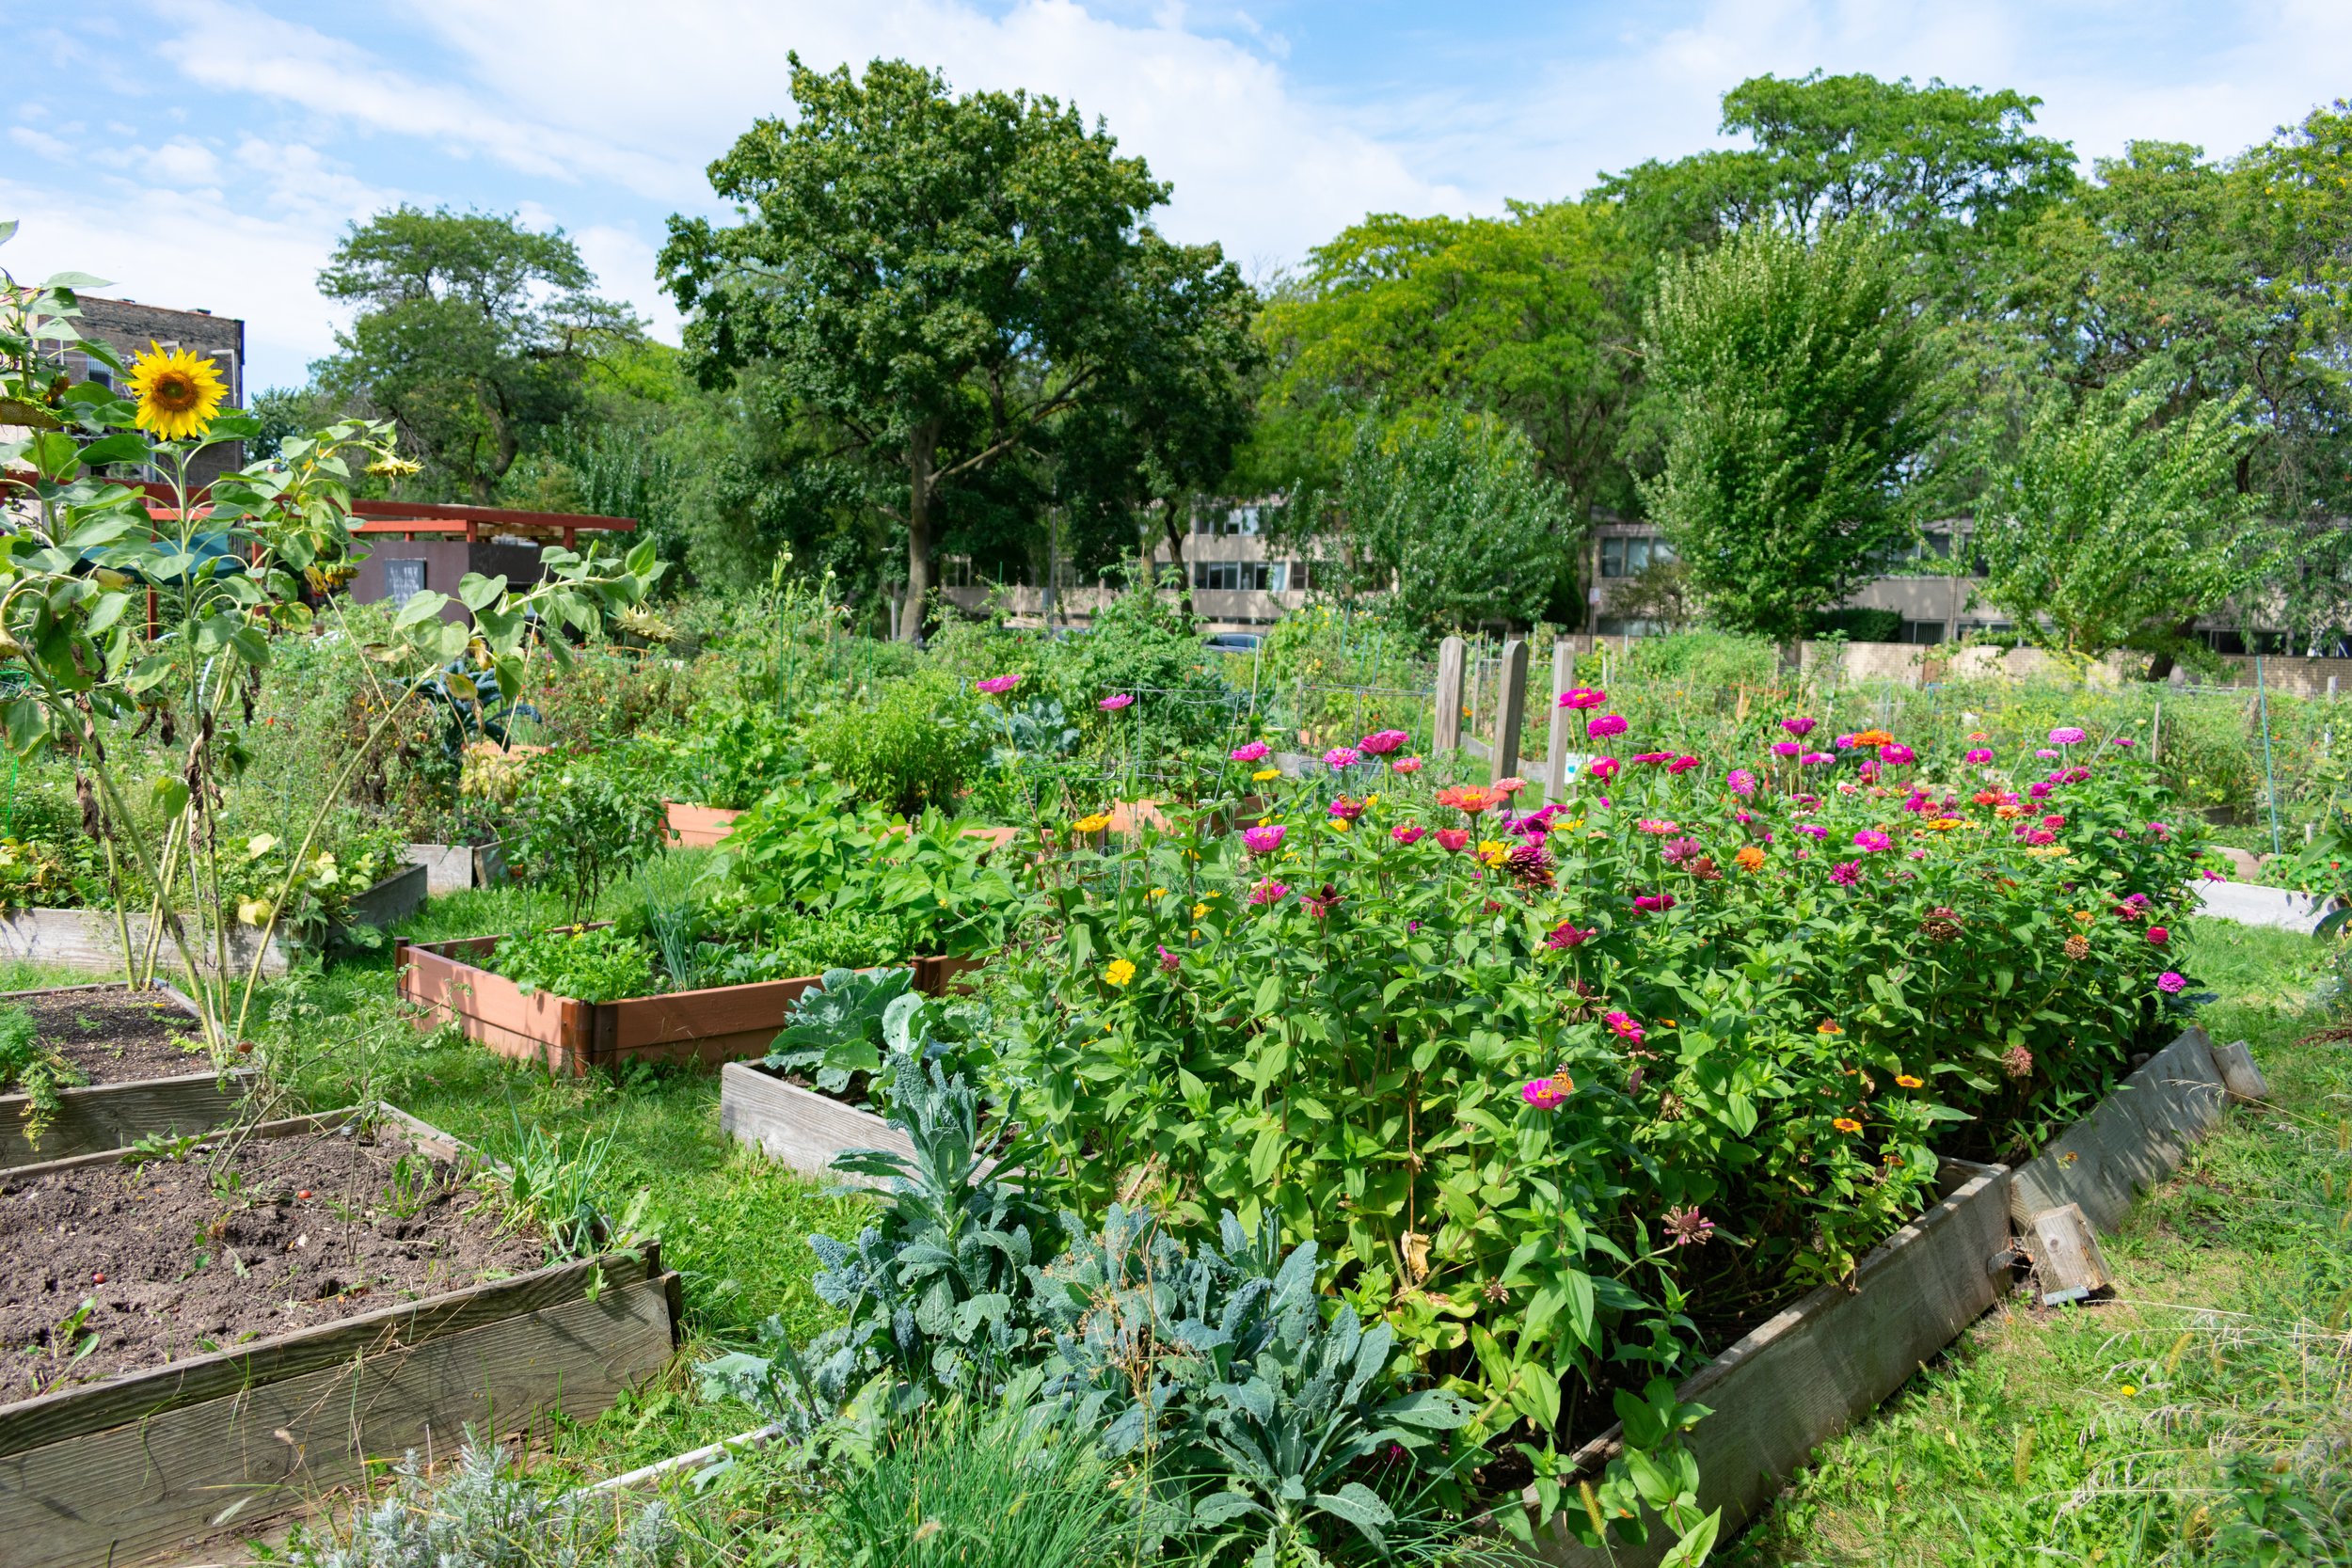
Growing your own food is fun and easy. Take home garlic and herbs to grow on your windowsill or outdoor space if you have one. You don’t need a garden to Grow 2 Eat. Everyone is welcome - especially if you don’t have access to a garden.

-

Why gardening matters
The benefits of growing your own food are almost endless yet it is not something we are often encouraged to do.
It is a fun and educational journey that can aid in improving mental health while definitely benefiting physical health via the quality of food that we eat. Not to mention the fact that a home grown vegetable has the delicious added flavour of pride!
Growing at home is also a fantastic way to reduce both food waste and household object waste via some crafty re-using.
-

What we do
At Grow2Eat our mission is to help people in our local community (and beyond!) get started on their growing journey.
We understand that there are many barriers to growing, not least the lack of physical outdoor space many are faced with in Leith. That is why we will be giving out free plants, seeds and compost every week at Leith Walk Police Box.
We will also be hosting a series of fun workshops at the box to engage with little growers, inspire new ways of gardening with no outdoor space and handing out nuggets of information.
-

How we do it
We are very thankful for our wonderful funders, Edinburgh Health and Social Care Partnership, who are helping us bring this project to you.
All our workshops will be easy to recreate at home with materials that can be found in the house or available at as little cost as possible. As children are the future of our planet we also aim many of our activities to younger participants but absolutely welcome the big kids as well!
Please keep an eye on our instagram and events calendar for our upcoming dates and activities!

Nettle Syrup
Nettles are a great gateway into the world of foraging, prolific and quite troublesome in your garden. Once you have foraged some young, bright nettle leaves from above dog height it is time to start cooking! There are numerous ways to use nettle leaves: pesto, tea, soup, salsa, in place of spinach. The list goes on, but we like to make nettle syrup to use as a cordial in soft and alcoholic drinks.
To make the syrup you will need sugar, nettle leaves, hot water and optional lemon rind.
Simply measure sugar into water at a ratio of two parts sugar to one part water and bring to a boil in a pan on the stove top. Once the sugar has dissolved, take the pan off the heat. Then once you have rinsed the nettle leaves just pop them into the sugar syrup with the lemon rind if using and let them steep for a couple of hours or even better, overnight!
After your steeping time is done, strain the syrup and keep in a sterilised glass jar or bottle and enjoy! We recommend with some lemon juice, soda water and mint.
Wild foods are widely available and countries like Scotland can provide us with seasonal sustenance that is fresh, free and fun to forage! Foraging is another way in which we can eat local too and learn more about the edible foods that grow around us in nature. You don’t have to travel far to go on a foraging trip either - your local park, canal side or your everyday city street can surprise you with edible eats!
It is important to be mindful and forage in a sustainable way that leaves enough for everyone – especially the wildlife that call these habitats home!
You must also be careful what you forage – always read up on the species beforehand and make sure the information is reliable and up to date and never eat anything you are unsure about. A foraging identification book is always handy to take with you too!
In Scotland there is always something for us to forage at any season of the year and we’ve put a mini guide together to get you started! Keep in mind some of our wild foods overlap into multiple seasons!
SPRING: Wild garlic, rose hips, sloes, whitebeam berries, chickweed, dandelion leaves, cleavers, common sorrel, gorse flowers, sweet violet, wild mint.
SUMMER: Bilberry, dandelion flowers, fat hen, mallow, meadowsweet, yarrow, oxeye daisy, elder flowers, dulse seaweed, laver seaweed.
AUTUMN: Hawthorn berries, wild raspberries, wild strawberries, blackberries, elder berries, rowan berries, beechnuts, chestnuts, hazelnuts, rosehips, sloes, walnuts.
WINTER: Acorns, crab apples, dandelion roots, pine needles, cranberries, chicory, burdock, hairy bittercress, sweet chestnuts, hop.
There is no law of trespass in Scotland which means we have the right to roam. With that said, there are some restrictions to that such as roaming across farmers land or in private gardens. You can use Scotland’s outdoor access code to find out more!
Become a seasonal forager – a handy guide to Scotland’s wild food!


Sprouts are germinated seeds – this means that the “germ” of the seed wakes up from its long snooze and eventually grows into a real, live plant! But until then, what you have is a tasty, small and crunchy sprout!
You can sprout seeds at home to make them more digestible for eating and they are enriched with essential fibre, vitamins and minerals that are super healthy for you! They also a make great addition to growing microgreens for a mini-indoor garden that is inexpensive and easy to maintain all year round!
Sprouts are not the same as microgreens, they differ in their plant growth stage and take a different amount of time to grow. Sprouts and microgreens are grown using different methods and supplies. For sprouting seeds, here are the steps to follow:
Find a suitable place in your home – we recommend somewhere cool with consistent light levels where there is no direct sunlight. A place with good air flow is also essential to prevent them from going mouldy!
Gather and prepare your equipment – you can use a jar and muslin cloth, a tray with draining holes, a strainer or even just a damp paper towel. Wash your hands and any equipment in hot soapy water before handling the seeds or spouts. All you need after that is your seeds – make sure you search for sprouting seeds that are intended for consumption.
Give your seeds water and they will grow into sprouts - use water that is room temperature as too hot or too cold can slow the germination process. If using a jar, cover and secure the muslin cloth with an elastic band or poke holes in the top of the jar to allow the water to drain and replace with fresh water 2-3 times per day. If using a tray or paper towel, rinse or spray the seeds 2-3 times per day.
Seed sprouting – have highly nutritious food all year round that is “sow” easy to grow!
Repeat each day until you see sprouted tails! Your sprouts are ready when the length of the root of the sprout is the length of the seed! There are many healthy and tasty recipes out there that you can add your sprouts too!
Extra tip: before throwing away an old packet of seeds that are several years old, you can pre-sprout seeds to check if they are still good to grow. Once they have sprouted/germinated, you can then transplant the sprouted seeds into a growing pot or garden! Just follow step 3 using the paper towel method.
Extra tip: you can also sprout beans, lentils and nuts too to enhance their nutrients and digestibility before eating! But please read health and safety guidelines before doing so!
Note that seeds sold for gardening or for bird food are unsuitable for germinating into sprouts for consumption as they may have been treated with fungicides!


Plant pots can be expensive or are often just made of far too much plastic. Watering cans take up lots of space and again, that old plastic conundrum. Meanwhile, we all have excess recycling to be doing. Why not combine doing your recycling with a dash of arts and crafts and bobs your uncle, you have garden tools!
Take a look at our worksheet for some ideas or come up with your own - just be careful with scissors! We would love to see your DIY Garden tools so make sure and send us some pictures or tag us on instagram.
Some other ideas:
Use washed ice lolly sticks or takeaway cutlery to label your seedlings
Takeaway chopsticks are useful to make holes in soil for sowing seeds
Sandwich bags can be re-used as mini greenhouses (especially if they have holes!)
Mushroom trays can also be good planters or trays to put under your DIY coffee cup plant pots!
DIY Garden Tools - create your own out of household ‘waste’

Cress Caterpillars - an equally as fun slightly healthier version of our old friend C*lin
Did you know that cress is a stage in the life cycle of a seedling? And a delicious one at that! It is the stage of the seedling when the first leaves appear, these exist inside the seed and hold loads of nutrients for the plant to eat as it grows. This means that they are fast growing and packed full of nutrients for us to eat as well! Great for in salads, stir fries or the absolute sandwich king, the Egg Mayo and Cress.
We also chatted a bit about micro greens as well. Micro greens, famous for being fiddly little leaves on fancy plates of food, are actually just the next stage in the plant after cress and similarly packed full of goodness. The leaves are different to cress as they are the same as the rest of the leaves the plant will produce for the rest of its life and can taste just like the real deal.
Micro greens can also be grown in your caterpillar, they will just take slightly longer than the cress.
Take a look at our instruction sheet opposite to make your own cress caterpillar, in fact why not go the whole way; you can even grow cress in the shells of the eggs you will eat to gain the box.
Imagine that, an Egg and Cress sandwich where both the ingredients have come from the egg box and shells!!
As usual, if you don’t have the necessary materials to make this please stop by the Police Box and we will happily provide you with them!

Last week at the Grow 2 Eat stall we had a great time making seed bombs with many of you. If you took home seed bombs, some of the urban pollinator mix or have a wildflower seed mix of your own, here are some handy tips on creating your wildflower meadow.
Meadows are plant communities that are made up of wild flowers and wild grasses and they can grow in many different locations from very exposed sites to sheltered areas like woodlands.
Wildflowers can be sown over existing grass but they may not be as effective. If you are sowing the seeds in your garden you can prepare a seed bed by raking over the soil.
Sow the seeds or bombs in from May through to late September. Mixes often have a range of wildflowers and grasses that grow at different times, this means that your first season of your meadow will look very different and sometimes more patchy than the next year’s!
There is no need to fertilise your meadow! The native species in the mix for your seed bombs grow well on land with low nutrient levels.
The pollinators will LOVE your wildflower meadow!
Follow the instructions on the sheet opposite to make your own seed bombs - if you need the wildflower mix or any of the ingredients come by the box and we will have some ready for you!
Seed Bomb Week!